Update guide, tools & drivers
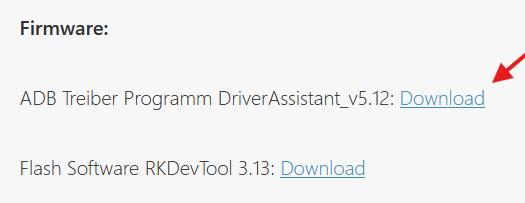
Download the Driver Assistant and the RKDev Tools from our fileshare. Both must then be unpacked.
1. install the "DriverAssitant". After installation, the display is recognized by the PC. If ADB drivers are already installed on the device, the tablet may not be recognized. Please uninstall these ADB drivers beforehand.

2. start RKDev-Tool download and start
- first connect the blue outer USB-A port next to the power socket to the PC.
Now press the Vol+ button and the power button on the back at the same time and apply power. You should now see a loader device in the RKDevTool. You can now skip to point 5.
If no ADB/Loader Device is recognized, the following must be set under Settings/About tablet, click on the build number seven times. This enables developer mode.
This can then be found under Settings/System. You must then activate USB debugging there. "Turn on USB host" must also be switched off under Settings/System. Note: When switching to a non-licensed Google version or to Linux, Erase All must be pressed in the RKDevTool under Advanced Functions.
- you should now see an ADB device in the RK-Dev tool. Then press the Switch button in the RKDev tool. The device will restart in loader mode after a few seconds.
- press the Firmware button under the "Upgrade Firmware" tab and select the Linux/Android image.
Note: When switching to a non-licensed Google version or to Linux, Erase All must be pressed in the RKDevTool under Advanced Functions.
- press the "Upgrade" button. The firmware should now be uploaded to the tablet.
- the device restarts automatically after the update process.
If the USB host is switched off and USB debugging is on, it is easier to enter loader mode. To do this, first connect the USB cable. Then press the Volume + button and connect the power/Ethernet cable to the tablet. After holding for approx. 5 seconds, the loader mode appears in the RKDev tool.